
The best bike shift cable for smooth shifting is usually the one that matches your drivetrain (road/MTB, mechanical shifting), uses quality stainless cable, and pairs with low-friction housing that fits your frame routing. If your shifts feel heavy, delayed, or “crunchy,” the cable system is often the quiet culprit, even when the derailleur looks fine.
People tend to chase “better derailleurs” or tweak limit screws for hours, but cables and housing behave like wear items: they drag, they corrode, liners deform, and tiny contamination builds up until shifting turns into a guessing game. The good news is that a cable refresh is one of the cheaper upgrades that can genuinely change how a bike feels.
This guide focuses on what matters in 2026: cable material and coatings, housing construction, compatibility traps (especially with integrated cockpits), and a practical install checklist. I’ll also call out when your “cable problem” is probably not a cable problem.
Key takeaways before you buy
If you only remember a few things, make them these. They save money and frustration.
- Housing matters as much as the inner cable. Great cable in cheap, kinked housing still shifts poorly.
- Stainless cables are the safe default for durability and corrosion resistance in most U.S. climates.
- Polymer-coated or slick cables can feel lighter at the lever, but they’re more sensitive to dirty routing and rough cut housing ends.
- Compressionless shift housing is a real upgrade for crisp indexing, especially on longer runs and tight bends.
- If your bike uses electronic shifting (Di2/eTap/AXS), you don’t need shift cables at all, so focus on brakes and firmware instead.
What “smooth shifting” really depends on
When riders say they want smooth shifting, they usually mean two things: low lever effort and consistent indexing. Both depend on friction and “system springiness” across the whole cable path.
Friction (drag) in the system
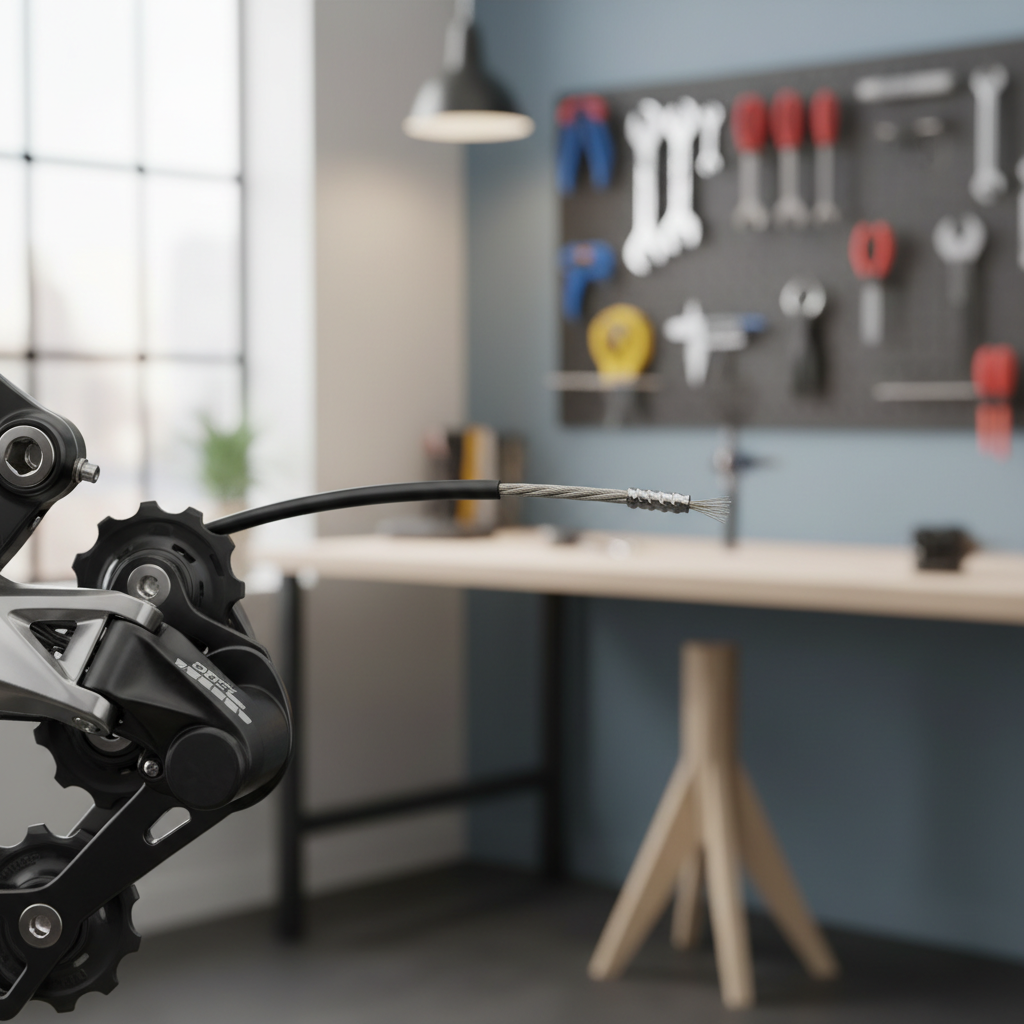
Drag comes from contamination, corrosion, tight bends, crushed housing, or rough liner transitions at ferrules and frame ports. The best bike shift cable for smooth shifting reduces drag, but it can’t fully compensate for poor routing or damaged housing.
Compression and housing quality
Shifting is indexed, so small changes matter. Spiral-wound housing can compress slightly under load, which blurs indexing, especially on bikes with long housing runs (gravel, MTB, internally routed frames). Compressionless housing resists that, so the derailleur moves the amount you expect.
Routing complexity (especially modern frames)
Internal routing, tight cockpit bends, and full-length housings add friction points. A slick inner cable helps, but clean cuts, correct ferrules, and housing length are what keep it from binding.
Choosing the right shift cable: materials and coatings
Most shoppers compare brands, but the bigger differences come from material, surface finish, and how the coating holds up over time.
Stainless steel cables (great default)
Stainless is common for a reason: it resists rust and stays consistent through wet rides and sweaty storage. In many cases, a stainless inner cable paired with quality housing is enough to feel “new-bike smooth.”
Galvanized (budget) cables
These can shift fine at first, but corrosion risk is higher, and the surface finish is often rougher. If you ride in rain, near the coast, or wash your bike frequently, the savings may disappear fast.
Polymer-coated / PTFE-style “slick” cables
These often reduce lever effort, especially on bikes with complicated routing. The tradeoff: coatings can fray or scrape if housing ends aren’t cleanly cut and deburred, or if contamination gets inside. If you want the best bike shift cable for smooth shifting with minimal lever effort, a reputable coated cable can be worth it, just plan to install carefully.
Housing: where smooth shifting is usually won or lost
It’s tempting to replace only the inner cable, but worn housing is the more common reason “it still doesn’t feel right.”
Compressionless shift housing
Look for housing designed specifically for shifting (not brake housing). Compressionless constructions typically use linear strands that resist squish. The feel difference is most obvious on 10–12 speed mechanical drivetrains where indexing tolerances are tighter.
Liners, ferrules, and seals
Sealed ferrules and continuous liners help keep grit out, which helps the cable stay smooth longer. This matters for gravel and MTB, and for commuters who deal with road spray.
According to Park Tool (a widely used bicycle repair education brand), clean housing cuts and correct ferrule use are key to reliable cable performance, because poorly cut housing can create extra friction and inconsistent shifting.
Quick self-check: is your cable the real problem?
Before buying anything, do a fast diagnosis. It prevents the classic mistake of replacing cables when the issue is a bent hanger or worn drivetrain.
- Heavy lever feel that improves when you disconnect the cable from the derailleur: usually housing drag or contaminated routing.
- Slow downshifts (hard to move to smaller cogs): often friction, sticky housing liner, or tight bend near the bars.
- Won’t hold adjustment after indexing: housing compression, loose anchor bolt, frayed strands, or damaged ferrules.
- One or two gears always noisy even after tuning: could be cable friction, but also common with a bent derailleur hanger or worn cassette.
- Clicking and skipping under load: frequently drivetrain wear, chain/cassette mismatch, or hanger alignment, not cables.
If you’re unsure, a shop can usually confirm hanger alignment quickly. According to Shimano (via their dealer manuals and service documentation), correct adjustment depends on a straight hanger and proper cable tension; cable replacement won’t fix alignment issues.
Recommended setups for 2026 (by rider type)
Instead of naming a single “winner,” it’s more honest to match the setup to how you ride and how your bike is built. Use this as a buying short list when you’re aiming for the best bike shift cable for smooth shifting in your context.
| Rider / Bike | Inner Cable | Housing | Why it works |
|---|---|---|---|
| Road bike, external routing | Stainless | Quality standard shift housing | Short runs, fewer bends, durable and cost-effective |
| Road/gravel, internal routing | Slick coated (reputable) | Compressionless shift housing + good ferrules | Reduces friction and keeps indexing crisp on long routes |
| MTB (mud, dust) | Stainless | Sealed or well-lined housing | Resists corrosion, stays consistent with contamination control |
| Budget refresh on older bike | Stainless | New standard housing (fresh cuts) | Most “wow” per dollar when old housing is tired |
Practical install steps (the part that makes or breaks results)
You can buy premium parts and still get mediocre shifting if the install is rushed. This is the sequence that tends to produce the “crisp click” feeling people want.
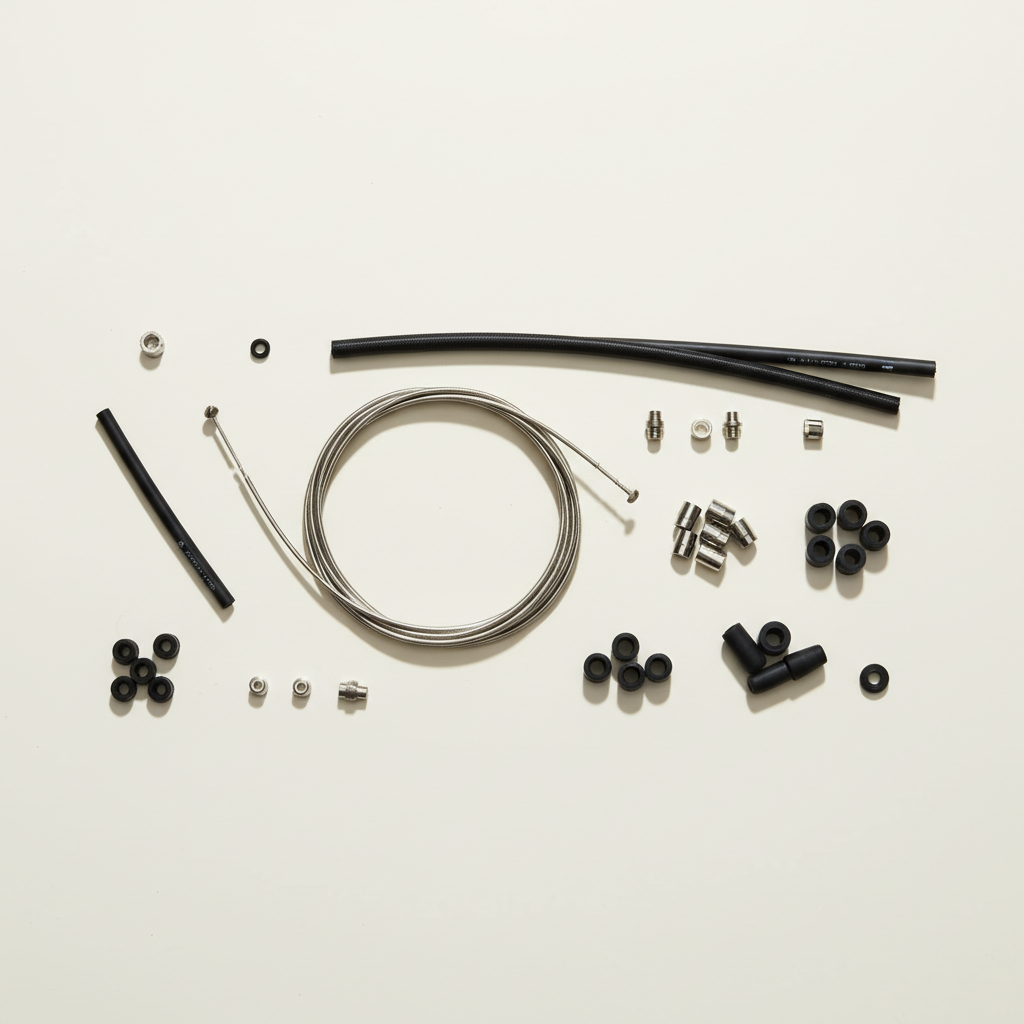
Tools and small parts to have ready
- Cable and housing cutters (bike-specific)
- Pick or awl to reopen housing liner after cutting
- Correct ferrules for your frame and housing
- End caps (crimps) for the inner cable
- Light cable lubricant only if your cable/housing system calls for it (many coated systems prefer dry)
Install checklist
- Replace housing if it’s old, kinked, or has unknown history. This is where smoothness usually comes from.
- Cut housing cleanly, then square the end and reopen the liner so the inner cable doesn’t snag.
- Match ferrules to housing diameter, and confirm frame stops seat fully.
- Route with generous curves at the bar and rear derailleur, avoiding tight “S” bends.
- Pull slack by hand, tighten the anchor bolt to spec, then fine-tune with the barrel adjuster.
- Shift across the full cassette, checking that upshifts and downshifts both land cleanly.
- Trim cable end and crimp an end cap to prevent fraying.
One small reality check: new cables can “settle” after a few rides as housing seats into ferrules, so a minor barrel adjustment later is normal.
Mistakes that waste money (and how to avoid them)
This is the stuff that makes people swear a new cable “did nothing,” even when they bought good parts.
- Mixing brake housing with shift housing: brake housing can compress differently, which hurts indexing.
- Reusing crushed ferrules or missing liners at frame ports: tiny gaps create friction and contamination.
- Over-lubing: in dusty areas, excess wet lube can attract grit and turn into grinding paste.
- Ignoring hanger alignment: a slightly bent hanger mimics cable issues and makes tuning unstable.
- Expecting cables to fix worn drivetrain parts: stretched chain, worn cassette, or worn pulley wheels still shift poorly.
Conclusion: picking the “best” cable is really picking the right system
The best bike shift cable for smooth shifting is rarely a single magic product; it’s a sensible inner cable choice plus housing that matches your routing and riding conditions, installed with clean cuts and proper ferrules. If you want the biggest improvement per dollar, replace housing and cable as a set, then do a careful tune.
If you want a simple next step, inspect your housing for kinks and gritty feel, then choose stainless plus quality shift housing for most bikes, or a reputable slick cable plus compressionless housing for internal routing. If shifting still won’t stabilize, it’s a good moment to ask a shop to check hanger alignment and drivetrain wear.