
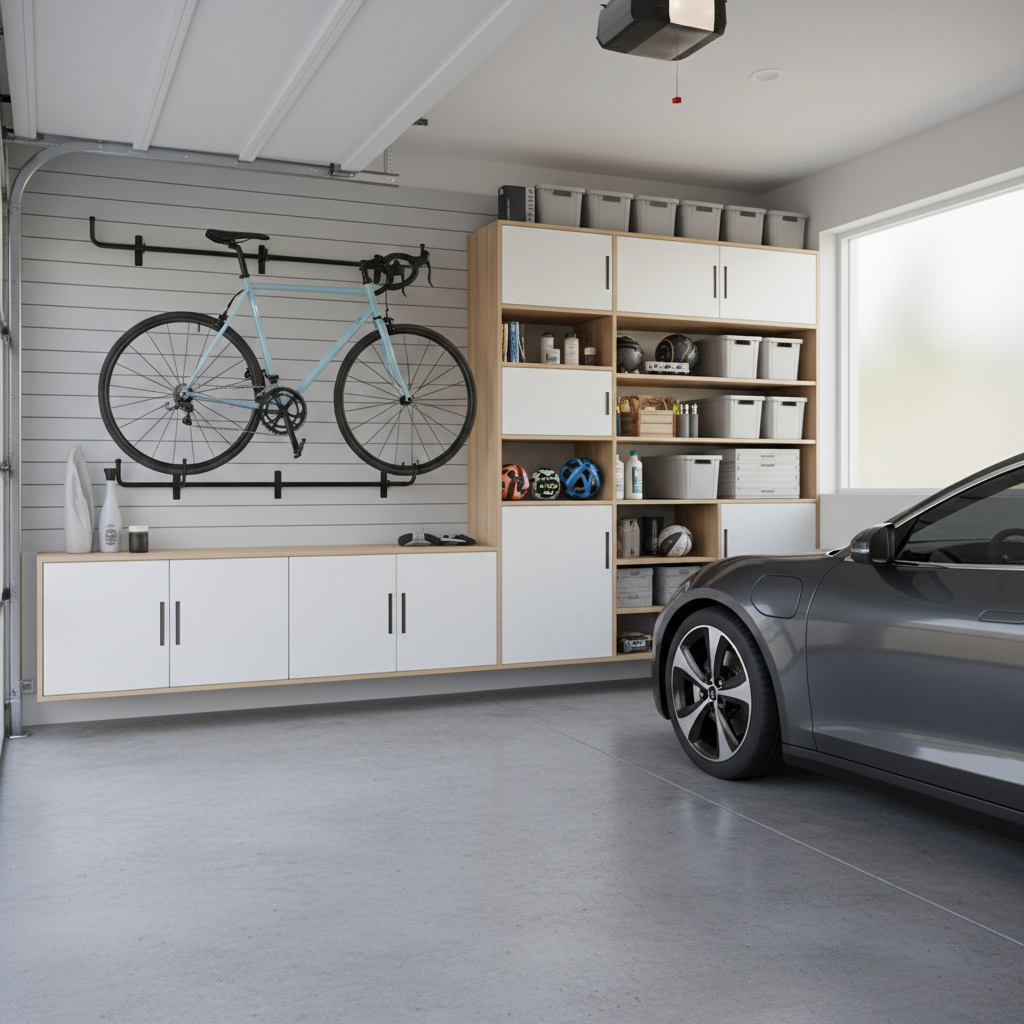
How to store bikes in a small garage usually comes down to one thing: stopping bikes from living in the “walkway zone” where they tip over, scratch cars, and waste the few clear feet you have.
If your garage also has trash bins, a freezer, sports gear, and the usual mystery boxes, bike storage can feel impossible, even when you buy a hook or rack. The catch is that small garages rarely fail from a lack of products, they fail from a layout that ignores doors, car swing space, and the way people actually move through the room.
This guide breaks storage into a few realistic setups, then helps you pick one based on wall type, bike weight, and how often you ride. You’ll get a quick self-check, a comparison table, and step-by-step install notes, plus the mistakes that waste money.
Start with the “small garage reality check” (it saves rework)
Before buying hardware, measure and decide what you’re protecting: walking space, car space, or quick access. Small garages can’t optimize all three equally, so you pick the priority and design around it.
- Floor plan basics: measure wall length, ceiling height, and how far the garage door tracks drop down.
- Car swing zone: open your car door and mark that arc with painter’s tape, that zone needs to stay clear.
- Bike basics: note tire width, frame shape, and approximate weight, e-bikes and downhill bikes often need different mounts.
- Frequency: daily riders need grab-and-go storage, seasonal bikes can be higher, tighter, or partially disassembled.
Key point: the “best” solution is the one you actually use without lifting a bike awkwardly every time. If a setup feels annoying on day one, it won’t get better in month three.
Why bikes take over small garages (common causes)
When people ask how to store bikes in a small garage, they’re often fighting three quiet problems at once, not just a lack of wall space.
1) The garage is organized by categories, not by movement
Many garages store “sports stuff” together, “tools” together, “holiday” together, but the space works better when you store by where you stand and what you reach. Bikes belong near the exit path you use to leave, not wherever there’s an empty corner.
2) Bikes are stored “temporarily” and become permanent
Leaning bikes against drywall or shelving feels harmless until it becomes the default. Then you get bent rotors, scuffed paint, and a constant shuffle. A simple hook beats a perfect plan you never install.
3) The wrong mount for your wall or bike type
Heavy bikes on light-duty hooks, hooks into drywall without studs, or fancy vertical racks for bikes with fenders can all create failure points. According to OSHA, maintaining clear walking-working surfaces helps reduce trip hazards, which matters in cramped garages where bikes often block paths.
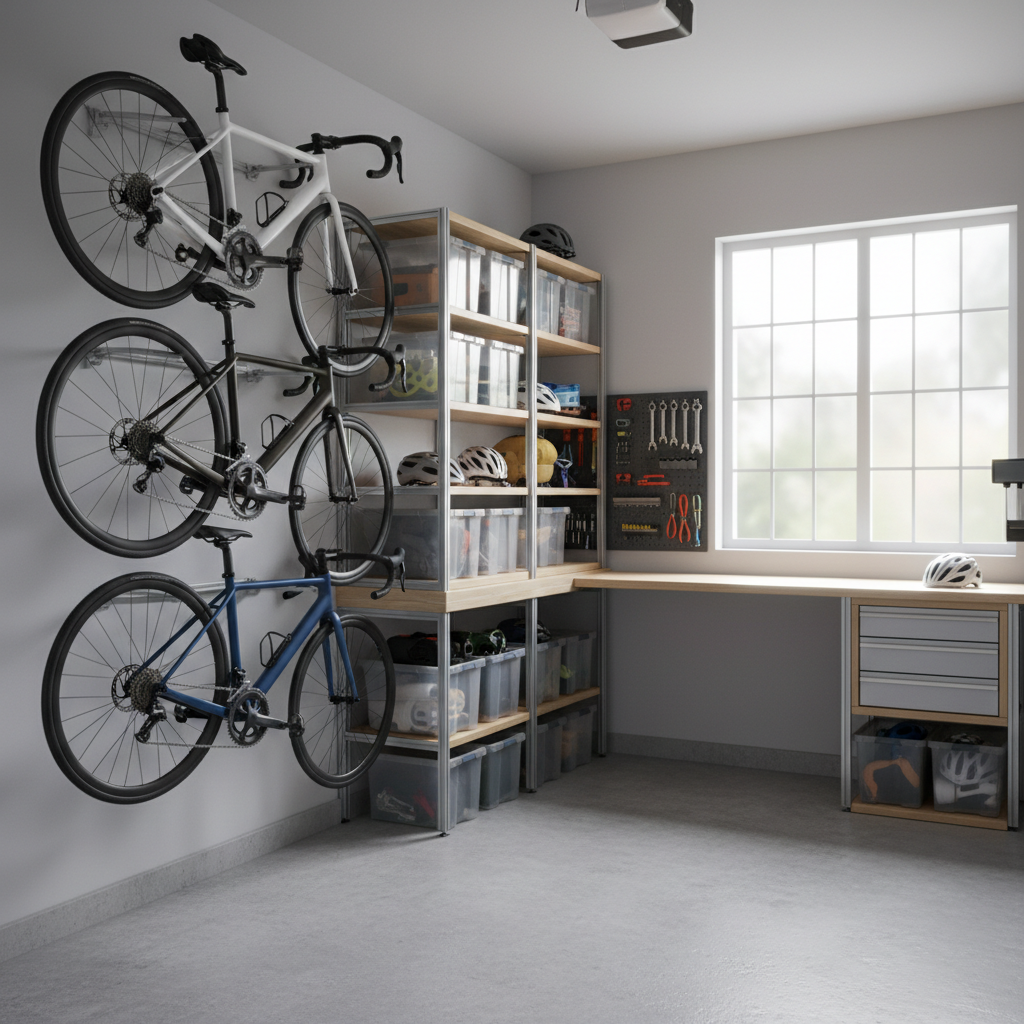
Choose a storage method: what works best in a small garage
There are a handful of methods that reliably work in tight spaces. The right one depends on ceiling height, studs, and how comfortable you are lifting the bike.
| Method | Best for | Trade-offs | Quick tip |
|---|---|---|---|
| Wall hooks (vertical hang) | 1–3 bikes, narrow footprint | Front wheel marks wall, lifting required | Use a tire tray or wall guard |
| Horizontal wall rack | Frequent riders, minimal lifting | Takes more wall length | Stagger heights to prevent handlebar clashes |
| Ceiling hoist | Very tight floor space, seasonal storage | Slower access, pulley maintenance | Keep clear of garage door tracks |
| Freestanding vertical stand | Renters, no drilling | Uses floor space, can tip if bumped | Place against a wall, not in the middle |
| Rail + adjustable hooks | Families with mixed bike sizes | Install needs accurate leveling | Mount rail into studs, not just drywall |
Practical rule: if you can spare wall length, horizontal racks feel easiest day-to-day. If you can’t spare width, vertical hooks often win.
A quick self-test: which setup fits your garage?
Use this checklist to narrow options fast. You can circle more than one, but try to pick a “primary” setup so you don’t end up with random hardware everywhere.
- I need to park a car inside: prioritize wall storage, avoid floor stands in the door-swing zone.
- I ride 3+ days per week: choose a low-friction method, usually horizontal wall rack or a rail system at chest height.
- I have an e-bike or heavy bike: look for higher weight ratings and minimize overhead lifting, consider a ramped wall channel or a sturdier low-lift rack.
- I’m renting or can’t drill: a freestanding stand or tension pole can work, but keep it away from busy paths.
- My ceiling is low or has lots of tracks: skip hoists unless you confirm clearance with the door fully open.
If you’re still unsure how to store bikes in a small garage, default to a stud-mounted wall solution. It’s usually the most stable and the easiest to keep tidy long term.
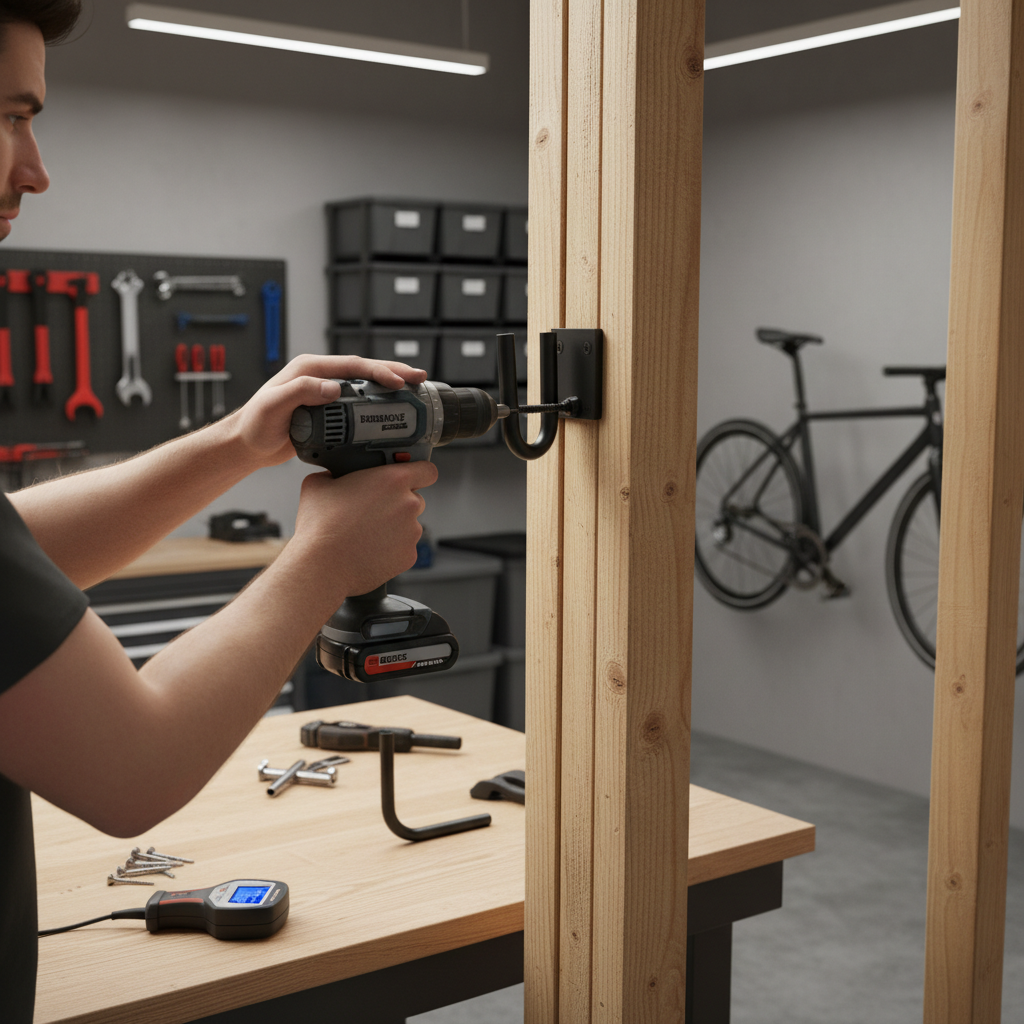
Step-by-step: install wall storage that stays put
This is the most common “do it once and stop thinking about it” approach, and it fits many U.S. garages with wood studs behind drywall.
Tools and materials
- Stud finder, tape measure, level
- Drill/driver, appropriate bits
- Lag screws or hardware recommended by the rack brand
- Wall hooks, horizontal rack, or rail system
- Optional: wall protection plate, tire tray, or a strip of PVC trim
Steps that matter
- Map the “clear path” first: leave a straight line from garage door to house door if you use that route daily.
- Find studs and mark a mounting line: garages are rough spaces, so level matters more than people think, crooked hooks make bikes drift and bump.
- Set height using the tallest bike: then stagger the next bike 6–10 inches up or down so handlebars don’t interlock.
- Pre-drill into studs: reduces splitting and makes the hardware bite cleanly.
- Test with a gentle pull: before hanging the bike, load the hook/rack with your body weight carefully, if anything flexes, stop and re-check fasteners.
Safety note: if you have metal studs, masonry, or uncertain wall construction, it may be worth asking a handyman or contractor. Hanging heavy bikes incorrectly can cause damage or injury.
Space-saving layout tips that feel “small garage proof”
Hardware helps, but layout is where you win back real space. These are the moves that typically make bike storage click.
- Use corners for handlebars, not pedals: pedals snag clothing and bags, handlebars tolerate tight corners better.
- Stagger heights on purpose: even two bikes side-by-side often need offset heights to prevent handlebar fights.
- Keep floor space under bikes empty: if you store bins under hanging bikes, you’ll stop using the bike hooks because access becomes a hassle.
- Match storage to your “exit side”: mount bikes on the side you naturally walk along, so you don’t cross the car zone to retrieve them.
- Bundle the small stuff: helmets, pumps, locks, and lights belong on one small wall panel near the bikes.
According to the CPSC, helmets should be replaced after a significant impact, so storing them where they won’t get crushed under boxes is more than a neatness issue.
Common mistakes that waste space (and how to avoid them)
A few patterns show up again and again when people try how to store bikes in a small garage and end up frustrated.
- Overusing ceiling storage: it looks efficient, but if access is slow, bikes migrate back to the floor.
- Mounting too close together: you save inches on paper, then lose minutes untangling handlebars in real life.
- Ignoring moisture and grime: wet tires on drywall leave marks, and road salt can corrode parts; a simple mat and a wall guard go a long way.
- Under-rating the weight: e-bikes and kids hauling bikes onto hooks are a different load pattern than a light road bike, choose hardware that fits your scenario.
- Storing bikes with flat tires: it makes vertical hooks annoying and can stress rims over time, keep a pump where you can reach it.
When it’s worth getting professional help
Most bike storage installs are DIY-friendly, but a few situations justify a pro, even if you’re handy.
- Unknown wall structure: brick, block, plaster, or metal studs where the right anchors matter.
- High-value bikes: if a fall would be a big loss, a properly mounted system is cheap insurance.
- Very heavy bikes: many e-bikes push past comfortable overhead lifting, a pro can help place mounts lower and reinforce as needed.
- Garage door conflicts: low clearance with tracks and openers can turn into a frustrating redo.
If you have back, shoulder, or mobility limitations, consider a lower-lift rack and ask a professional for placement advice. Comfort is a safety issue, not a luxury.
Conclusion: a small garage can still hold bikes cleanly
Once you decide what must stay clear and pick a storage method that matches your daily habits, how to store bikes in a small garage becomes pretty straightforward. Most households do well with stud-mounted wall storage, plus a small “bike zone” for helmets and pumps so everything stays together.
Your next step can be simple: measure the car door swing, choose one wall, and install a single sturdy mount this weekend. After that, adding a second hook or a rail often feels easy because the layout already makes sense.