
how to set up an indoor bike trainer is mostly about getting three things right early: compatibility, stability, and calibration, because if any one of those is off your first ride will feel wobbly, noisy, or strangely hard.
Most issues people blame on the trainer, like tire slip, weird shifting, or power that never matches their effort, usually come from setup details that feel “optional” but aren’t, like the right axle adapter or proper roller tension.
This guide focuses on the practical steps that prevent rework: choosing the correct hardware, positioning everything so it stays put, dialing in contact or calibration, then doing a short “sanity check” ride before you start structured training.
Before you start: trainer type, bike compatibility, and what you actually need
Before you touch a skewer or cassette, confirm what kind of trainer you own, because “setup” looks different for each type and the wrong assumption wastes time.
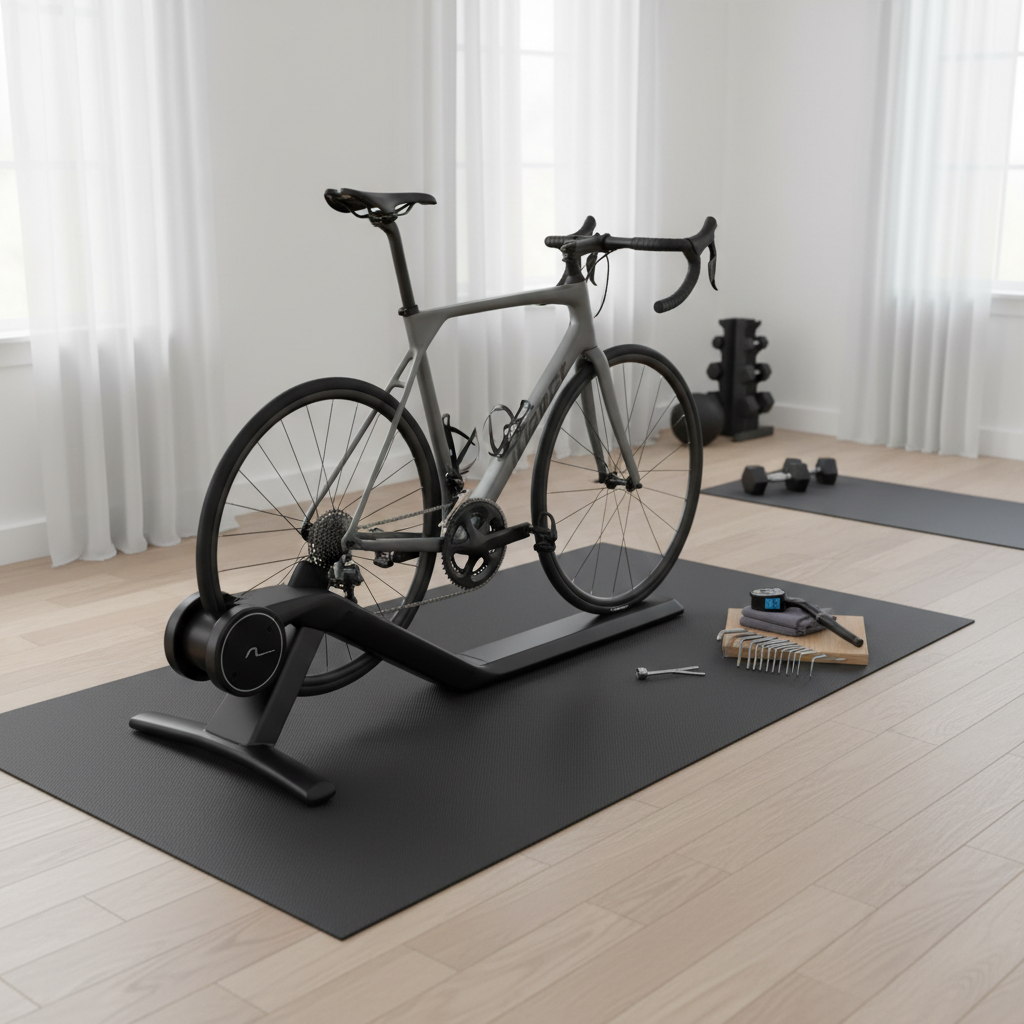
- Wheel-on trainers press a roller against your rear tire. Easy storage, but tire choice and roller tension matter a lot.
- Direct-drive trainers replace the rear wheel and drive the cassette directly. Usually quieter, often more consistent power, but cassette and axle standards matter.
- Rollers the bike balances on drums. Great for technique, not ideal if you want “set it and forget it” stability.
Compatibility checks that save headaches:
- Axle type: quick release (QR) vs thru-axle, plus the correct length and thread pitch for your bike if it’s thru-axle.
- Hub spacing: common road is 130mm QR or 142mm thru-axle, some bikes use 148mm boost.
- Drivetrain match (direct-drive): your trainer’s cassette body (HG, XDR, Micro Spline) must match your cassette.
- Floor and space: enough clearance for the bike to rock slightly without hitting walls, and a surface that won’t creep.
Key point: If you’re unsure about axle standards or cassette fit, it’s usually faster to confirm with the bike manufacturer or a local shop than to force adapters and risk damage.
Set up your space for stability, noise control, and sweat protection
Many people focus on mounting the bike and forget the room, but the room decides whether your trainer “walks” during sprints and whether you end up with a salty sweat mess.
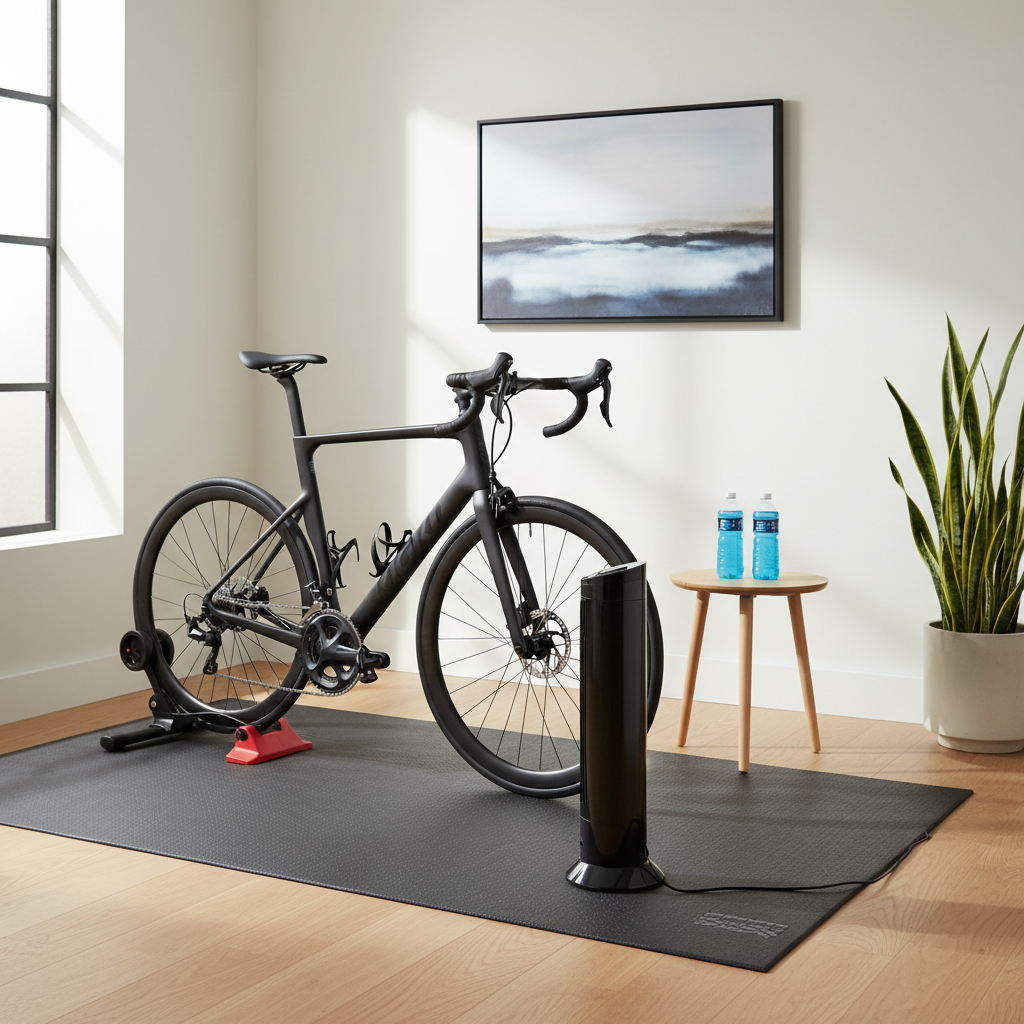
- Trainer mat: reduces vibration, protects flooring, and helps keep the trainer from sliding.
- Front wheel support: a riser block or a stable book stack keeps your bike level and your hips happier.
- Fan placement: aim airflow at your torso, not just your face, and plug it into an easy-to-reach switch.
- Sweat management: towel on bars plus a top-tube sweat guard if you have one, especially for indoor endurance rides.
According to CDC, regular physical activity supports cardiovascular health, but indoor training can raise heat stress faster than outdoor riding, so ventilation and cooling matter, and if you have health concerns you may want to ask a clinician what intensity makes sense.
Quick win: If your setup feels unstable, try a grippier mat first before you blame the trainer legs, because many floors are slicker than they look.
Mount the bike safely: wheel-on vs direct-drive (step-by-step)
Wheel-on trainer mounting steps
If you’re learning how to set up an indoor bike trainer and yours is wheel-on, your tire and skewer are part of the system, not an afterthought.
- Install the trainer-specific QR skewer if your trainer requires one, many do because it’s shaped to sit securely in the cups.
- Open the clamp, seat the rear axle fully into both cups, then close the clamp so it feels firm and even.
- Center the bike, confirm the tire sits straight on the roller, then lock the trainer frame if it has a secondary lever.
Direct-drive trainer mounting steps
Direct-drive setup is cleaner once it’s done, but the first time can feel fiddly because the cassette and axle adapters must match your bike.
- Install the correct cassette on the trainer freehub, tighten lockring to manufacturer spec if you have a torque wrench.
- Select the right axle adapters (QR or thru-axle end caps) and press or thread them in fully.
- Remove the rear wheel, guide the chain onto the smallest cog, then seat the bike dropouts onto the trainer axle.
- Tighten the thru-axle or close the QR, then check that the frame is fully seated with no gap at the dropout.
Safety check: Before you hop on, push the saddle side-to-side and look for any “clunk” at the axle interface. If you see movement, stop and reseat the bike.
Dial in tension, tire pressure, and leveling (the stuff that fixes most problems)
This is where indoor rides become pleasant instead of loud and inconsistent. Small adjustments matter more indoors because nothing “floats” the way it does on pavement.
- Tire pressure (wheel-on): pick a pressure and keep it consistent between rides, because changing it changes roller contact and power feel.
- Roller tension (wheel-on): tighten until the roller contacts the tire, then follow the trainer’s recommended turns or click count, too loose slips, too tight overheats tires.
- Leveling: use a front wheel riser or adjust trainer feet so the bike sits level, this reduces hand pressure and saddle discomfort.
- Chainline (direct-drive): if shifting is noisy, confirm the cassette spacers and that the derailleur indexing still matches.
Realistic expectation: Even a “perfect” setup can feel different from outdoor riding. What you want is repeatability, so workouts feel consistent week to week.
Calibration and pairing: make your numbers and resistance behave
how to set up an indoor bike trainer is not complete until the software side is stable, because pairing issues and skipped calibrations cause the most confusing training days.
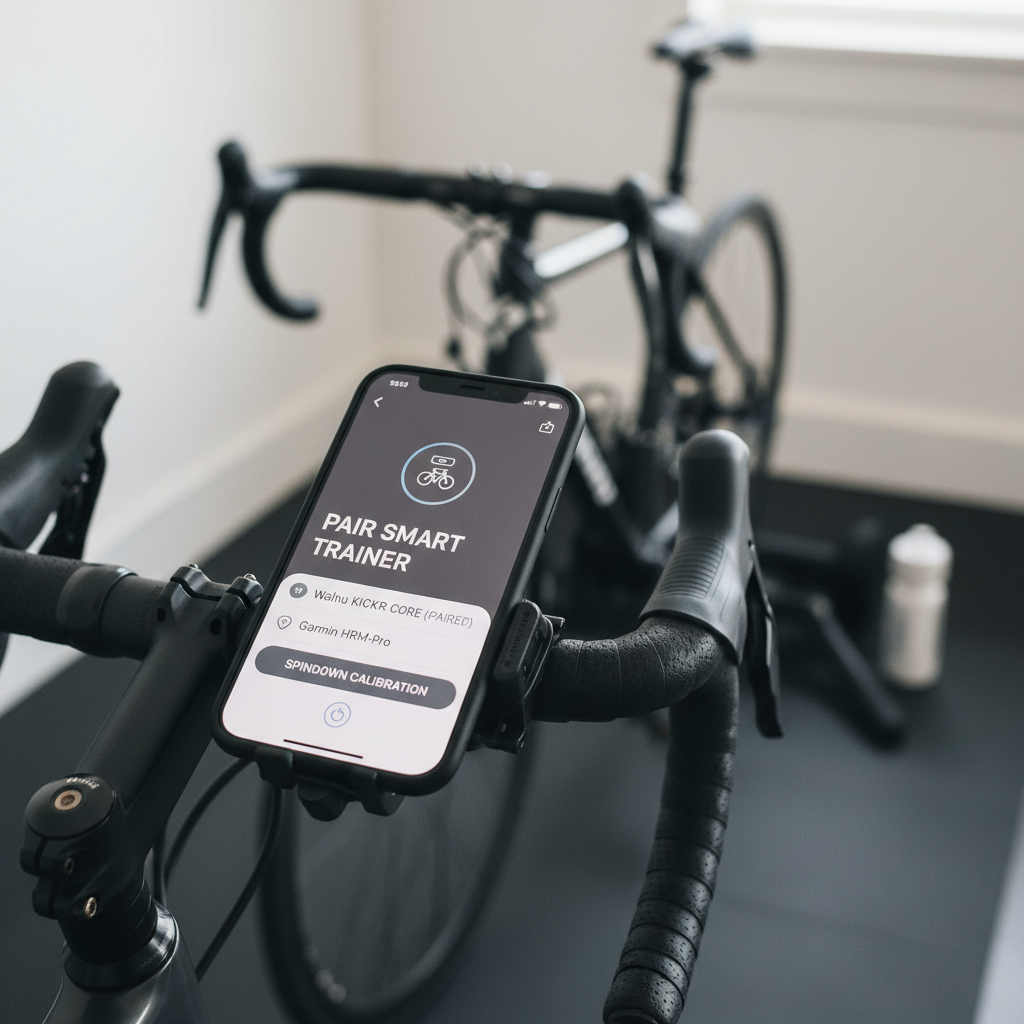
- Update firmware in the trainer app before you do anything else, many bugs disappear after updates.
- Pair sensors: connect trainer as “power” and “controllable trainer” in your app, then pair heart rate separately.
- Choose one connection method: if possible, pick Bluetooth or ANT+ and stick with it per device to reduce dropouts.
Calibration norms vary by trainer:
- Wheel-on: a spin-down calibration is often recommended after a short warm-up, especially if tire pressure or roller tension changed.
- Direct-drive: many models still benefit from occasional calibration, while others rely on factory calibration and temperature compensation.
According to Garmin, sensor pairing and calibration steps can differ by device and protocol, so it’s worth following the trainer manufacturer’s app prompts rather than a generic routine.
Key point: If your trainer supports ERG mode, test it with a simple workout that holds a steady wattage for 3–5 minutes, it should feel smooth, not like the resistance is “hunting.”
Fast self-check: which setup issue do you have?
If something feels off, don’t randomly tighten everything. Use a quick diagnosis instead.
| Symptom | Likely cause | Try this first |
|---|---|---|
| Rear tire slips during sprints | Low roller tension or low tire pressure | Increase roller tension slightly, then standardize tire pressure |
| Bike rocks or feels “loose” | Axle not seated, wrong adapter, uneven floor | Reseat axle, confirm adapter, add mat and level front wheel |
| Shifting noisy on direct-drive | Cassette spacing or derailleur indexing mismatch | Check spacers, micro-adjust indexing, verify cassette compatibility |
| Power seems too high/low | No calibration, temperature change, pairing wrong device | Warm up then calibrate, confirm trainer is paired as power source |
| Connection drops or lag | Wireless interference, too many paired devices | Move router away, reduce Bluetooth devices, use ANT+ dongle if available |
Quick reality check: If you compare trainer power to a crank or pedal meter, small differences can be normal, what matters most is consistency for your own training.
Common mistakes that make setup feel “impossible”
A lot of frustration comes from repeating the same small errors, especially when you’re excited to ride and skip the boring parts.
- Using a regular QR skewer on a trainer when the trainer expects a hardened one, it can slip or damage the cup interface.
- Changing tire pressure every ride on wheel-on trainers, then wondering why resistance feels different.
- Ignoring cassette wear on direct-drive, a new cassette paired with an old chain can shift poorly.
- Over-tightening everything out of caution, which can increase noise and wear, and sometimes makes removal a pain.
- Skipping cooling, then blaming fitness when the real limiter is overheating indoors.
If you notice knee pain, numb hands, or persistent discomfort after moving indoors, it may be a fit issue exposed by the static position, many riders benefit from a quick fit check with a qualified bike fitter or a local shop.
Practical setup routine you can repeat before every ride
This is the “no drama” routine that keeps you from chasing problems mid-workout.
- 2 minutes: check axle is tight, trainer legs fully open, bike level.
- 1 minute: confirm tire pressure and roller tension if wheel-on, or confirm chain sits cleanly on the small cog if direct-drive.
- 1 minute: open your training app, confirm the trainer is the selected power source and controllable device.
- 5–10 minutes: warm-up, then calibrate if your trainer recommends it for the day’s conditions.
Key takeaway: Once you lock a repeatable process, learning how to set up an indoor bike trainer stops being a project and becomes a habit.
When it’s worth getting professional help
If you hit one of these, you’ll often save time by asking a bike shop, fitter, or the trainer manufacturer’s support team, instead of forcing parts to match.
- Thru-axle doesn’t thread smoothly, or you’re unsure about thread pitch.
- Direct-drive cassette installs but the chainline looks off, or shifting never quiets down.
- The trainer wobbles even on a solid surface, suggesting a hardware issue.
- You feel pain rather than normal training fatigue, especially around knees, hips, or lower back.
If you have a medical condition or you’re returning after injury, it’s smart to keep early rides easier than your ego wants, and consult a qualified health professional for personalized guidance.
Wrap-up: a stable trainer makes indoor riding actually enjoyable
Once compatibility, mounting, and calibration are handled, indoor training gets dramatically smoother, less noisy, and easier to trust. Pick one setup routine, keep tire pressure and tension consistent if you’re wheel-on, and do a short test ride before you commit to a hard workout.
If you want the simplest next step, set a calendar reminder to re-check calibration weekly and do a quick bolt-and-axle check before each ride, it’s boring, and it works.