
Jump rope fitness works because it’s simple, scalable, and honest: if your timing is off, the rope tells you right away. If you want cardio without a treadmill, or you need a routine that fits a small apartment, a jump rope can do a lot with very little setup.
The catch is that most people quit for avoidable reasons, sore shins, tangled ropes, and workouts that ramp up too quickly. You don’t need to “jump higher” or “go harder” on day one, you need cleaner mechanics and a plan that matches your current capacity.
This guide covers how to pick a rope, dial in technique, and follow workouts that feel doable but still effective. I’ll also flag common form mistakes and when it’s smarter to ask a coach or clinician for help.
Why jump rope works (and who benefits most)
Jump rope is cardio, coordination, and low-equipment conditioning in one. Many people like it because it’s time-efficient, you can do it indoors or outside, and it trains rhythm in a way jogging or cycling doesn’t.
According to the American Heart Association, adults generally benefit from regular aerobic activity for heart health, and jump rope can be one way to reach that goal if it fits your body and schedule.
- Cardio efficiency: Intervals get your heart rate up quickly, which is handy when you only have 10–20 minutes.
- Foot and ankle resilience: When progressed gradually, the repeated contacts can build tolerance, but rushing this is where many people get hurt.
- Coordination + athletic carryover: Timing, posture, and relaxed shoulders matter, and those skills translate to other sports.
- Portable consistency: A rope in your bag beats a plan that depends on gym access.
If you have a history of stress fractures, significant joint pain, pelvic floor symptoms, or uncontrolled blood pressure, jump rope may still be possible, but it’s worth discussing with a qualified clinician or trainer first.
Quick self-check: are you ready to start?
This isn’t a test you “pass” or “fail.” It’s a quick way to pick the right entry point so jump rope fitness doesn’t turn into shin pain and frustration.
Green light (start with basics)
- You can brisk-walk 20 minutes without pain during or after.
- You can do 20 controlled calf raises per side with minimal cramping.
- Your ankles feel stable when you hop lightly in place for 10–15 seconds.
Yellow light (start slower, reduce impact)
- You’re coming back from a long break, or you’ve had shin splints before.
- You feel “heavy” landings when you hop, or your calves seize up fast.
- You’re significantly increasing weekly training volume in other activities.
Red light (pause and get guidance)
- Sharp pain in the shin, foot, knee, hip, or back when you hop.
- Numbness, swelling, or pain that worsens day after day.
- Dizziness, chest pain, or unusual shortness of breath.
Gear setup that makes everything easier
The rope matters less than people think, until it doesn’t. Bad length and the wrong surface will sabotage you, even if your effort stays high.
Rope type (simple picks)
- Beaded rope: Great for beginners, more feedback, easier timing.
- PVC speed rope: Smooth, affordable, good all-around option once timing improves.
- Weighted rope: Useful later for conditioning, but can overload shoulders early on.
Rope length (fast rule of thumb)
Stand on the middle of the rope and pull handles upward. In many cases, a beginner-friendly length puts the handle tops around mid-chest. As skill improves, people often shorten slightly for speed and efficiency.
Surface + shoes
- Best surfaces: Rubber gym flooring, a jump rope mat, or smooth wood with some give.
- Avoid early on: Concrete, especially if you’re increasing volume quickly.
- Shoes: Use supportive trainers you’d wear for light cardio; ultra-minimal shoes tend to feel rough on calves if you’re not adapted.
Technique basics: what to do with your feet, hands, and posture
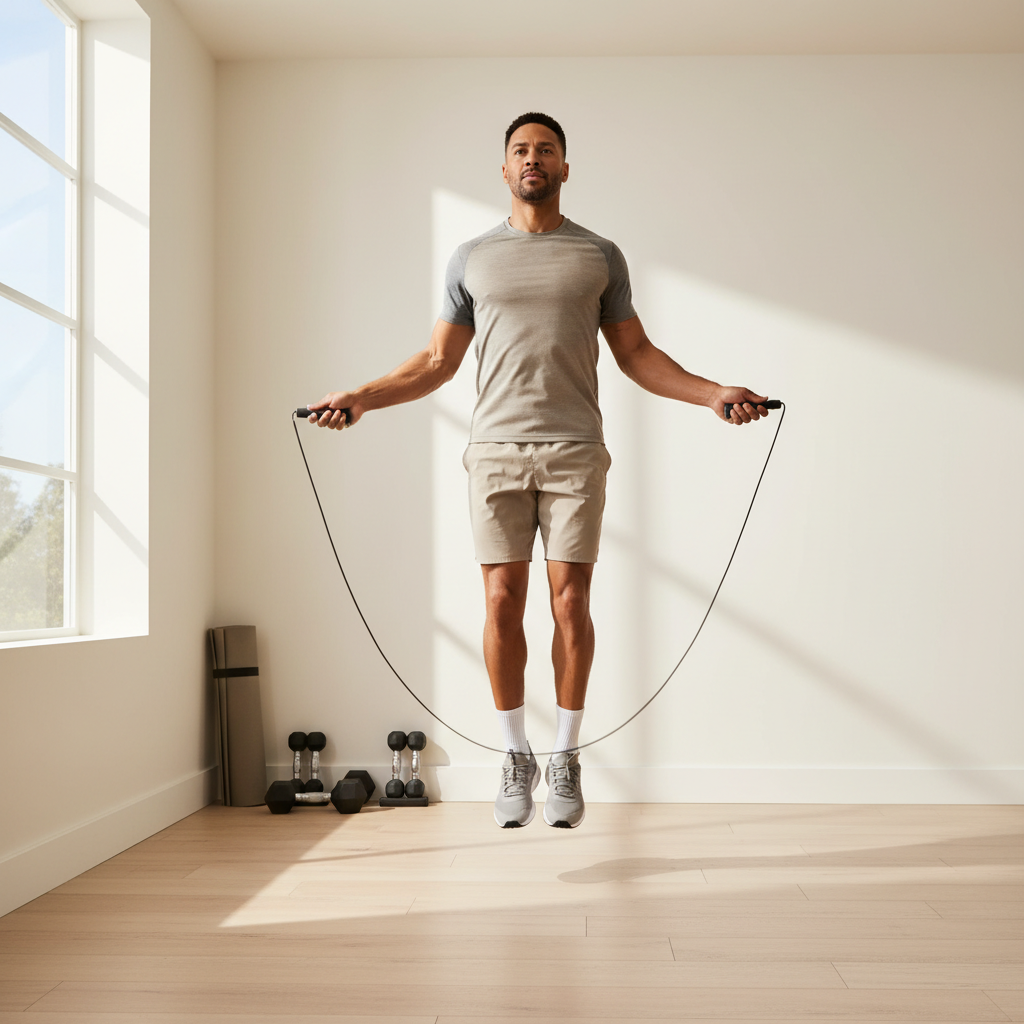
If you only change one thing today, make it this: keep jumps low and land quietly. Big jumps feel athletic, but they waste energy and spike impact.
Body position cues that usually work
- Hands: Slightly in front of hips, a bit away from your sides, wrists do most of the turning.
- Shoulders: Down and relaxed, if your traps burn, you’re muscling the rope.
- Feet: Small, quick hops; think “bounce,” not “leap.”
- Landing: Soft and springy, knees unlocked, heel may kiss the floor but don’t slam.
- Breathing: Don’t hold your breath; steady exhales help rhythm.
Common mistakes (and quick fixes)
- Rope keeps catching your toes: Shorten the rope slightly, keep hands forward, reduce jump height.
- Forearms doing all the work: Shrink your circles and flick from the wrists.
- Shin pain popping up fast: Cut volume, switch to intervals, add rest days, and check surface.
Beginner-to-intermediate training plan (4 weeks)
Consistency beats hero workouts for jump rope fitness. The goal here is skill + tolerance, so you can later push intensity without your lower legs revolting.
How to use this plan
- Train 3 days/week, optional light skill day if you feel fresh.
- Keep most sets at a pace where you can still talk in short phrases.
- Stop a set when form degrades, not when you feel “tough.”
| Week | Main workout (3x/week) | Notes |
|---|---|---|
| 1 | 10 rounds: 20 sec jump / 40 sec rest | Focus on quiet landings and relaxed shoulders |
| 2 | 12 rounds: 25 sec jump / 35 sec rest | Shorten breaks only if form stays clean |
| 3 | 10 rounds: 30 sec jump / 30 sec rest + 3 min easy finisher | Add an easy continuous segment at the end |
| 4 | 8 rounds: 40 sec jump / 20 sec rest + 5 min easy continuous | Don’t chase speed, chase smooth rhythm |
If you miss reps because the rope catches, that’s normal. Treat it like practice, reset, and keep the session moving.
Practical workouts for specific goals
Once you can jump comfortably in intervals, pick workouts based on what you actually want: general conditioning, fat loss support, or athletic coordination. Jump rope fitness adapts well, but you still need structure.

1) “No-excuses” 12-minute conditioner
- Warm-up: 2 minutes easy bounce or simulated rope (no rope)
- Work: 8 minutes, alternate 20 sec moderate / 20 sec easy
- Cool-down: 2 minutes walk + calf stretch
2) Fat-loss friendly interval (keep it sustainable)
- 15–20 minutes total
- 30 sec steady jump + 30 sec rest, repeat
- Finish with 5 minutes easy walk to bring heart rate down
Fat loss depends heavily on nutrition and overall activity; this workout can help, but it doesn’t “override” diet. If you track anything, track weekly consistency.
3) Coordination builder (low impact, high skill)
- 5 rounds: 45 sec easy jump + 45 sec rest
- During each work set, practice one new pattern for 10–15 sec: side-to-side, boxer step, or single-leg taps
Progression rules that prevent shin splints
Most overuse issues show up when impact volume climbs faster than tissue adaptation. According to the American Academy of Orthopaedic Surgeons, gradual progression and appropriate recovery can matter a lot for preventing overuse injuries.
- Increase one variable at a time: longer sets OR shorter rests OR more rounds, not all three.
- Use the 24-hour check: mild soreness is common; pain that worsens next day suggests you did too much.
- Schedule “easy feet” days: walking, cycling, or mobility work between rope sessions helps recovery.
- Add simple strength: calf raises, tibialis raises, and glute bridges 2–3x/week often support tolerance.
Also, if you’re doing a lot of running already, treat jumping as additional impact, not “free cardio.” That mental shift prevents a lot of regret.
Key takeaways and a simple next step
If jump rope fitness feels hard, it’s usually not a willpower issue, it’s setup and pacing. Keep jumps low, choose a forgiving surface, and let intervals build your base before you chase speed tricks.
Action step: Do Week 1 for two weeks if you’re coming back from inactivity, your legs will usually thank you. If you feel sharp pain or symptoms that don’t calm down with rest, consider checking in with a physical therapist or a qualified coach.
FAQ
How long should I jump rope for a good workout?
Many people do well with 10–20 minutes using intervals, especially early on. If you’re new, shorter sessions with better form usually beat longer sessions with sloppy landings.
Is jump rope fitness good for weight loss?
It can support weight loss by adding aerobic work and improving adherence because it’s convenient. In real life, results depend on a consistent calorie deficit and overall activity, so treat the rope as a tool, not magic.
What if I keep tripping on the rope?
In most cases it’s rope length, hand position, or jumping too high. Try slightly shortening the rope and keep your hands a bit forward; then slow down until you can string together clean reps.
Can beginners do jump rope every day?
Some can, but many do better with 2–4 days per week at first to let calves and shins adapt. If you want a daily habit, alternate hard days with easy technique-only sessions.
Which jump rope is best for beginners?
Beaded ropes and basic PVC ropes tend to be easiest because they give clearer feedback. Super-light speed cables can feel “invisible,” which frustrates new jumpers.
Does jump rope hurt knees?
It can if you jump high, land stiff, or spike volume too fast, but good mechanics often reduce stress. If knee pain persists or feels sharp, it’s smart to pause and consult a professional.
What’s a good warm-up before jumping?
A quick warm-up works: 2–3 minutes of marching in place, ankle circles, and a few light hops or simulated rope. The goal is to raise temperature and wake up ankles and calves.
If you’re trying to build a routine but you keep stalling on pacing, rope choice, or pain management, a short form check and a tailored progression plan can save weeks of guesswork, especially if you’re balancing other training like running or strength work.