
Yoga Block use can make flexibility training feel less like a battle and more like a process, especially if your hamstrings, hips, or shoulders always “hit a wall” before the pose even starts.
Most people don’t need to “push harder,” they need better leverage and alignment. A block gives you a stable middle step between the floor and your current range of motion, so you can breathe, hold, and gradually lengthen without collapsing your form.
What this guide does: it breaks down why blocks work, how to pick the right one, where beginners usually misuse them, and a few practical routines you can repeat at home without guessing.
Why a Yoga Block helps flexibility (without forcing it)
Flexibility improves when you can stay in a position long enough for tissues and the nervous system to relax. If you’re straining, holding your breath, or dumping weight into joints, your body often tightens up to protect you.
- Better leverage: bringing the “floor” closer reduces rounding and compensations.
- Cleaner alignment: you can stack joints more safely, which often makes a stretch feel smoother.
- More time under gentle tension: you can hold 30–60 seconds with steady breathing, which is where many people finally feel progress.
- More confidence: stable support lowers the urge to rush or “bounce” into range.
According to the American Council on Exercise (ACE), safe flexibility work generally emphasizes controlled movement and avoiding pain, which fits well with using props to stay in a manageable position.
Quick self-check: do you actually need a block for flexibility?
If you’re unsure whether a Yoga Block is “worth it,” these are the situations where it tends to make a noticeable difference.
- You can’t keep a neutral spine in forward folds without bending a lot or rounding hard.
- Your hips feel pinchy in low lunge, pigeon, or seated poses.
- Your shoulders shrug up in supported bridge, fish pose, or chest openers.
- You avoid balance poses because you feel wobbly or can’t reach the floor.
- You feel stretching mostly in joints (knees, low back) instead of the target area.
If you checked two or more, a block often becomes less of a “beginner tool” and more of a form tool.
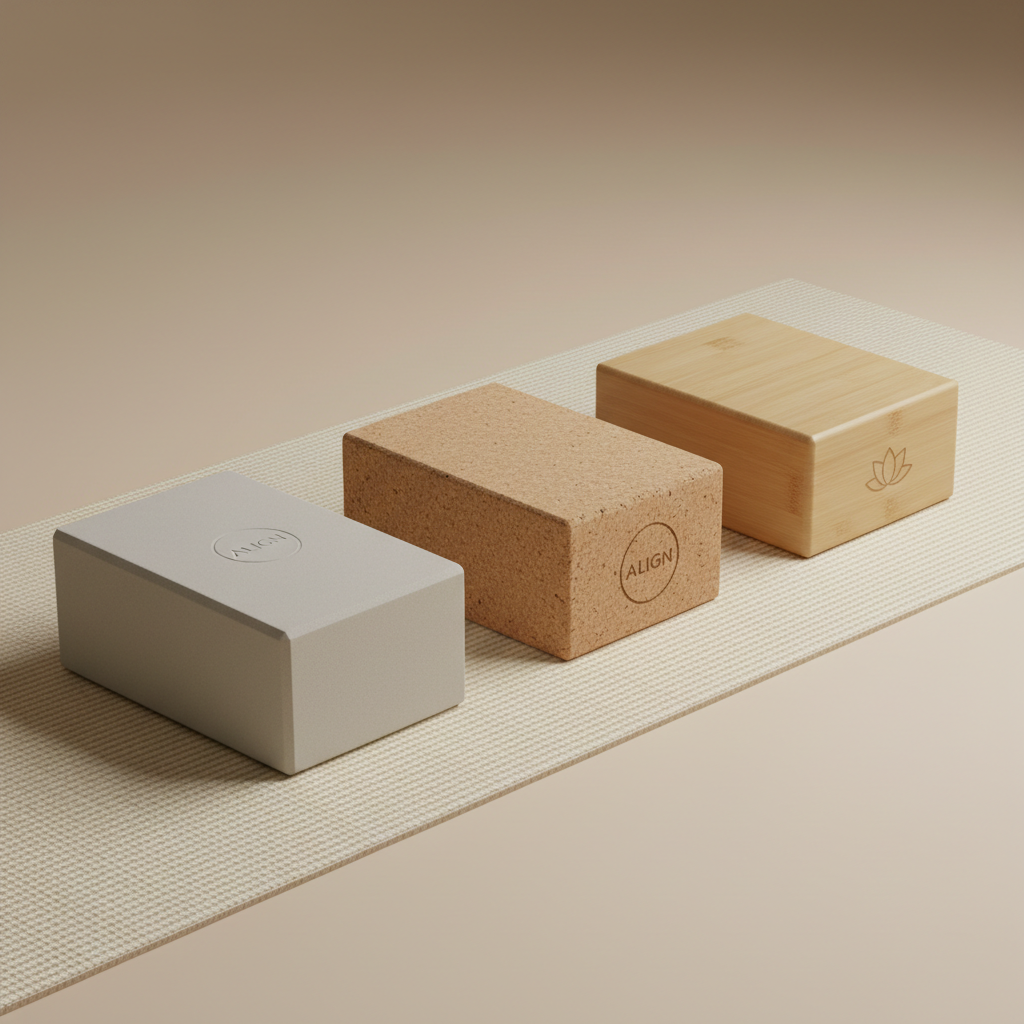
Choosing the right Yoga Block: material, size, and height settings
One block is enough to start, but two blocks open up more options for symmetry and support. Most people do fine with standard size, yet hand size and stability preferences matter.
| Option | Pros | Best for | Watch-outs |
|---|---|---|---|
| Foam block | Lightweight, comfortable, budget-friendly | Beginners, travel, sensitive wrists | May compress under weight in some poses |
| Cork block | Grippy, stable, durable | Standing poses, balance work, sweaty hands | Heavier, firmer feel |
| Wood block | Very stable, crisp feedback | Experienced practitioners who want firmness | Hard edges, less forgiving for comfort |
Height settings matter more than material. Use the block on its tallest side when you’re learning alignment, then lower it over time as mobility improves.
How to use a block for common tight spots (hips, hamstrings, shoulders)
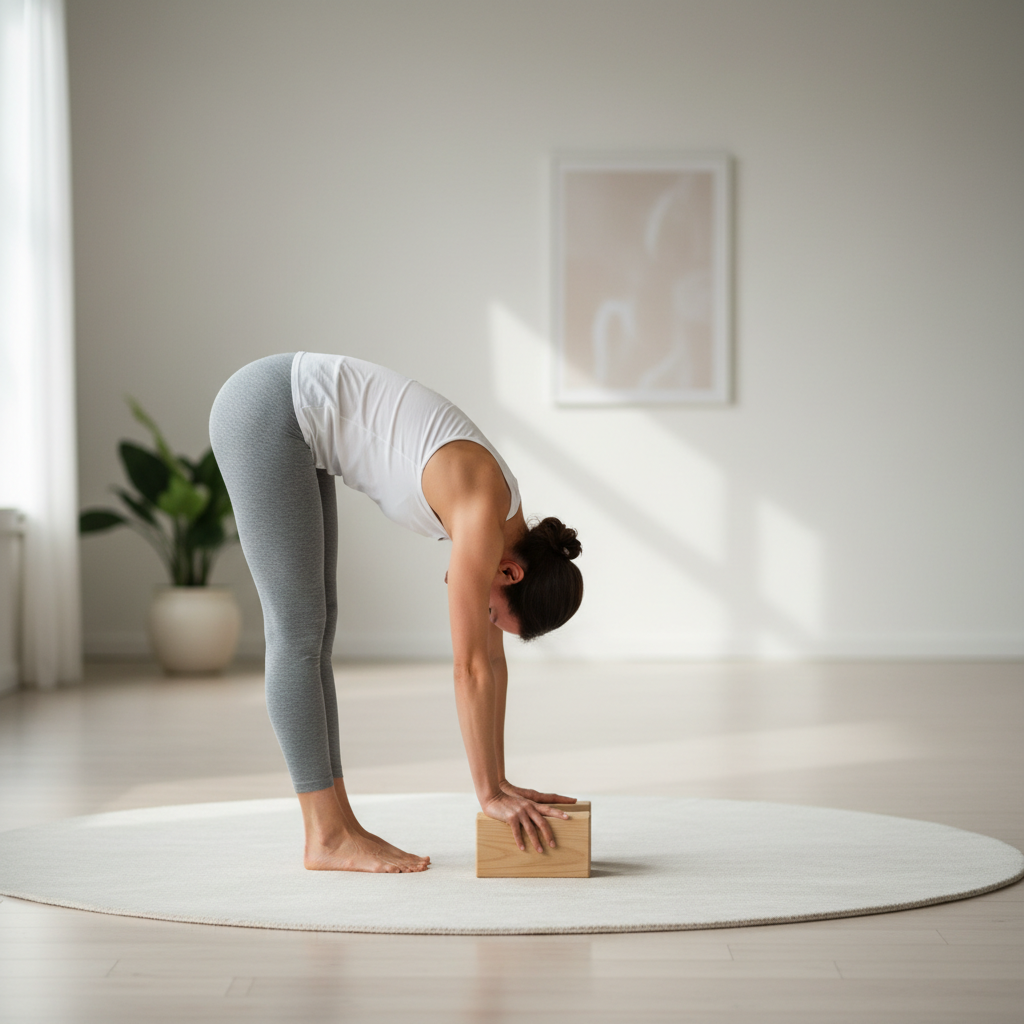
Hamstrings: Standing Forward Fold (Uttanasana) support
Place the block under your hands so you can hinge at the hips with less rounding. Bend knees as needed, keep weight even through feet, and aim for a long spine first, depth second.
- Start: block on tallest height, hands on block, inhale lengthen, exhale fold.
- Progress: lower the block one level when you can keep the spine long for 5 slow breaths.
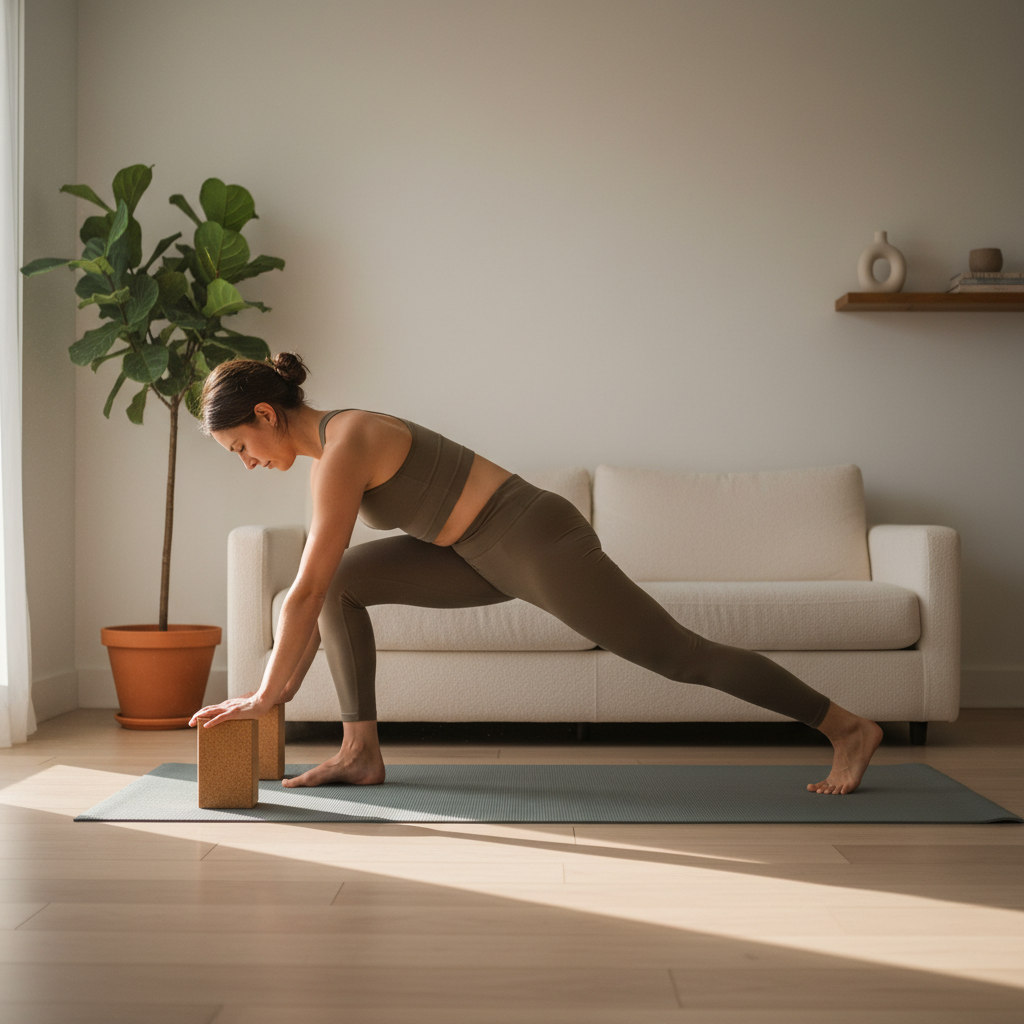
Hips: Low Lunge (Anjaneyasana) “lift the floor” setup
Put blocks on both sides of the front foot. This reduces the urge to dump into the low back, and it lets you find hip flexor length with better control.
- Keep ribs stacked over pelvis, glutes gently active.
- If front knee drifts inward, use the block to help you stabilize and slow down.
Shoulders/chest: Supported Fish pose (Matsyasana variation)
Place a block under the upper back (below shoulder blades), and optionally another under the head. This opens the chest without yanking the shoulders forward.
- Stay 30–90 seconds with calm breathing.
- Stop if you feel tingling, sharp pain, or neck strain.
A simple 15-minute flexibility routine using one or two blocks
This is the kind of routine people actually repeat because it’s not complicated. Use a discomfort scale, not ego: mild to moderate stretch is usually plenty.
- 2 minutes: Cat-Cow, hands on block if wrists feel tight
- 3 minutes: Low Lunge, blocks under hands, 60–90 seconds each side
- 3 minutes: Half Split (Ardha Hanumanasana), hands on blocks, 60–90 seconds each side
- 3 minutes: Supported Forward Fold, hands to block, 6–8 slow breaths
- 2 minutes: Supported Fish pose, block under upper back
- 2 minutes: Reclined twist, optional block between knees for comfort
Key point: keep the setup consistent for 2–3 weeks before judging results. Flexibility changes can be subtle until suddenly they aren’t.
Common mistakes that stall progress (and how to fix them)
- Using the lowest height too soon: if you lose spinal length or breath, raise the block. “Deeper” is not automatically “better.”
- Leaning into joints: wrist pain, knee pressure, or low-back compression usually means your support point is wrong or you’re forcing range.
- Holding breath: if you can’t take slow nasal breaths, the intensity likely exceeds what your body can integrate.
- Only stretching, no control: add light muscle engagement, like gently drawing front ribs down in lunges or activating quads in hamstring work.
- Random pose hopping: a repeatable sequence beats novelty when flexibility is the goal.
According to the National Center for Complementary and Integrative Health (NCCIH), yoga is generally considered safe when practiced appropriately, but injuries can happen, especially when pushing beyond comfort. Blocks help, but they don’t replace good judgment.
When to be cautious or ask a professional
If you feel sharp pain, numbness, tingling, or symptoms that linger after practice, it’s smart to pause and consult a qualified healthcare professional or a licensed physical therapist. The same goes if you’re recovering from a recent injury, dealing with significant joint instability, or managing conditions like osteoporosis where some postures may need modification.
For many people, a few sessions with a reputable yoga teacher can also save months of trial-and-error, especially around hips and shoulders where alignment gets tricky fast.
Conclusion: make the block your “bridge,” not a crutch
A Yoga Block works best when you treat it as adjustable ground: it helps you keep shape, breathe, and stay consistent long enough for real flexibility changes to show up.
If you want a simple next step, pick two poses that feel frustrating, raise the floor with a block, and practice them three times a week for 15 minutes. Then reassess. Your body usually tells you pretty quickly whether the setup finally makes sense.