
The best mountain bike for beginners in 2026 usually isn’t the most expensive option, it’s the one that matches your local trails, fits your body, and won’t punish you with constant maintenance.
If you’re shopping right now, the tricky part is that bike marketing makes everything sound “all-mountain capable,” while real beginner needs are simpler: predictable handling, decent brakes, and a setup that won’t feel sketchy on your first rocky descent.

This guide breaks down what to buy for common U.S. riding spots, how to avoid the classic “wrong bike for my trails” mistake, and how to set your budget so you spend on what matters.
What most beginners actually need (and what you can ignore)
Most new riders do better with a bike that feels calm and planted than one that promises extreme capability. The goal is confidence, not max speed.
- Reliable brakes: hydraulic disc brakes are common now and tend to feel more controllable than mechanical discs.
- A modern drivetrain: 1x (one front chainring) reduces shifting confusion and chain drops.
- Appropriate suspension: for many beginners, a good hardtail beats a cheap full-suspension that flexes and needs constant tuning.
- Tires that match terrain: tires change ride feel more than many people expect, especially on loose-over-hard trails.
Stuff you can usually de-prioritize early on: carbon frames, ultra-light wheelsets, and “race” geometry that can feel twitchy if you’re still learning basic cornering and braking.
Hardtail vs full-suspension: the beginner-friendly decision
This is where people overthink. A lot of riders ask for full-suspension because it sounds safer, but entry-level full-suspension bikes often cut corners on suspension quality and components.
Hardtail (front suspension only)
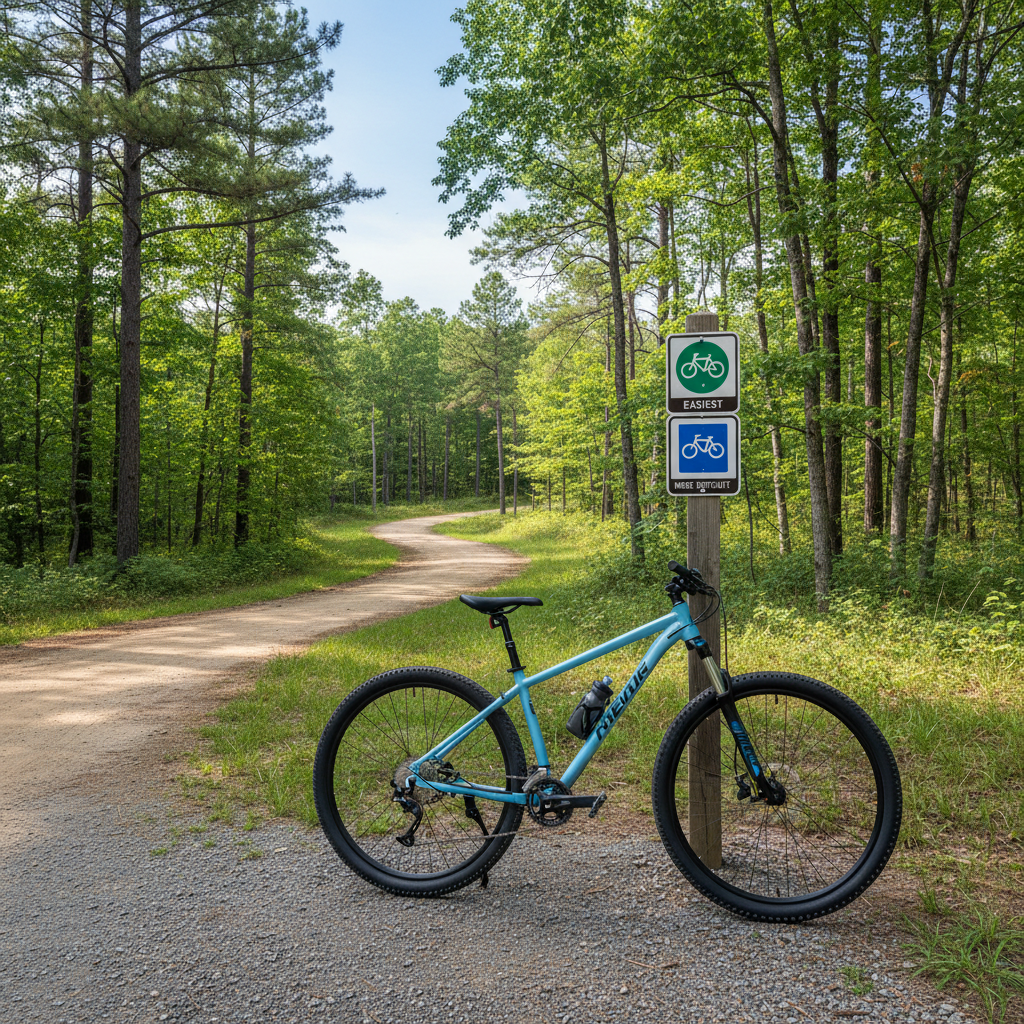
- Best for: green/blue trails, flow trails, mixed terrain, learning skills, and keeping costs controlled.
- Why it works: simpler maintenance, better climbing feel, and you learn line choice faster.
- Watch-outs: rough, chunky descents can feel harsher; tire choice and pressure matter more.
Full-suspension (front + rear)
- Best for: consistently rocky roots, repeated drops, or if comfort is a major limiter.
- Why it works: more forgiveness when you pick a bad line or ride longer days.
- Watch-outs: higher price for comparable parts, more pivots and bearings to service.
Many shoppers looking for the best mountain bike for beginners end up happiest on a well-specced hardtail in the $900–$1,500 range rather than stretching for a bargain full-suspension that feels vague.
Quick self-check: which bike category fits your trails?
If you answer these honestly, your options narrow fast.
- Mostly smooth dirt, some roots, you want fitness rides: hardtail XC/trail hardtail, 100–120mm fork.
- Flow trails, berms, small jumps, occasional rocks: trail hardtail or short-travel full-suspension, 120–140mm front.
- Rock gardens, steep descents, you brake a lot because it’s intimidating: trail full-suspension, ~130–150mm.
- You’ll ride bike parks regularly: consider a used, solid trail/enduro bike with a recent service history.
One more practical rule: if your local trails are mostly blue and you’re not seeking big drops, buying “more travel” than you need can make the bike feel sluggish and harder to pedal.
Beginner bike buying checklist (the parts that matter most)
Here’s what I’d prioritize before getting distracted by brand names.
- Frame fit and sizing: stand-over clearance and reach should feel natural; if you’re between sizes, your riding style matters (smaller can feel nimble, larger more stable).
- Wheel size: 29-inch wheels roll over obstacles easily; 27.5 can feel more playful. Either works, fit matters more.
- Fork: look for an air-sprung fork over coil at the same price when possible, it’s easier to tune to your weight.
- Brakes: hydraulic discs with decent rotors; if you’re heavier or ride steep terrain, stronger brakes reduce fatigue.
- Dropper post compatibility: ideally included, but at least ensure the frame supports internal routing so you can add one later.
- Drivetrain: 1x10 or 1x11 is a practical sweet spot; focus on gear range for climbs, not just “more speeds.”
According to IMBA (International Mountain Bicycling Association), trail etiquette and appropriate gear are core to safer riding, and a bike that fits well supports better control on shared trails.
Budget reality in 2026: what you get at different price points
Prices move around with sales and model-year changes, but the “quality jump” points stay fairly consistent.
| Budget | What’s realistic | Who it fits |
|---|---|---|
| $500–$800 | Entry hardtails, basic forks, sometimes mechanical discs | Casual trails, light use, very new riders |
| $900–$1,500 | Stronger hardtails, often hydraulic brakes, better geometry | Most beginners who will ride regularly |
| $1,600–$2,500 | Short-travel full-suspension or premium hardtails, upgrade-ready | Riders committing to technical trails |
| $2,600+ | Noticeably better suspension and wheels, lighter builds | Enthusiasts who know what they want |
If you’re trying to find the best mountain bike for beginners with a tight budget, consider putting some money aside for a proper helmet, gloves, and a basic tune-up after the first few rides.
Shortlist: beginner-friendly setups that tend to work well
Rather than naming “the one bike,” here are build profiles that usually shop well across brands in the U.S. market. You can match these to what’s on sale locally.
Option A: “Do-it-all” trail hardtail
- 120–130mm air fork
- Hydraulic disc brakes
- 1x drivetrain with wide-range cassette
- Dropper post included or easy to add
- 2.3–2.5" tires for traction and comfort
Option B: Short-travel full-suspension for rougher trails
- 120–140mm travel front and rear
- Trail geometry (not pure XC race)
- Boost axle spacing and thru-axles when possible for stiffness
- Room for a water bottle if you do longer rides
Option C: Used bike “value play” (if you have support)
- Look for service records, especially suspension and pivot bearings
- Check drivetrain wear, brake feel, and wheel trueness
- Budget for a shop inspection
Used can be the easiest way to get higher-quality components, but only if you’re willing to walk away when something feels off.
Practical setup tips: make your first rides easier
A surprising amount of “this bike feels scary” comes from setup, not the frame. Do these before you judge the purchase.
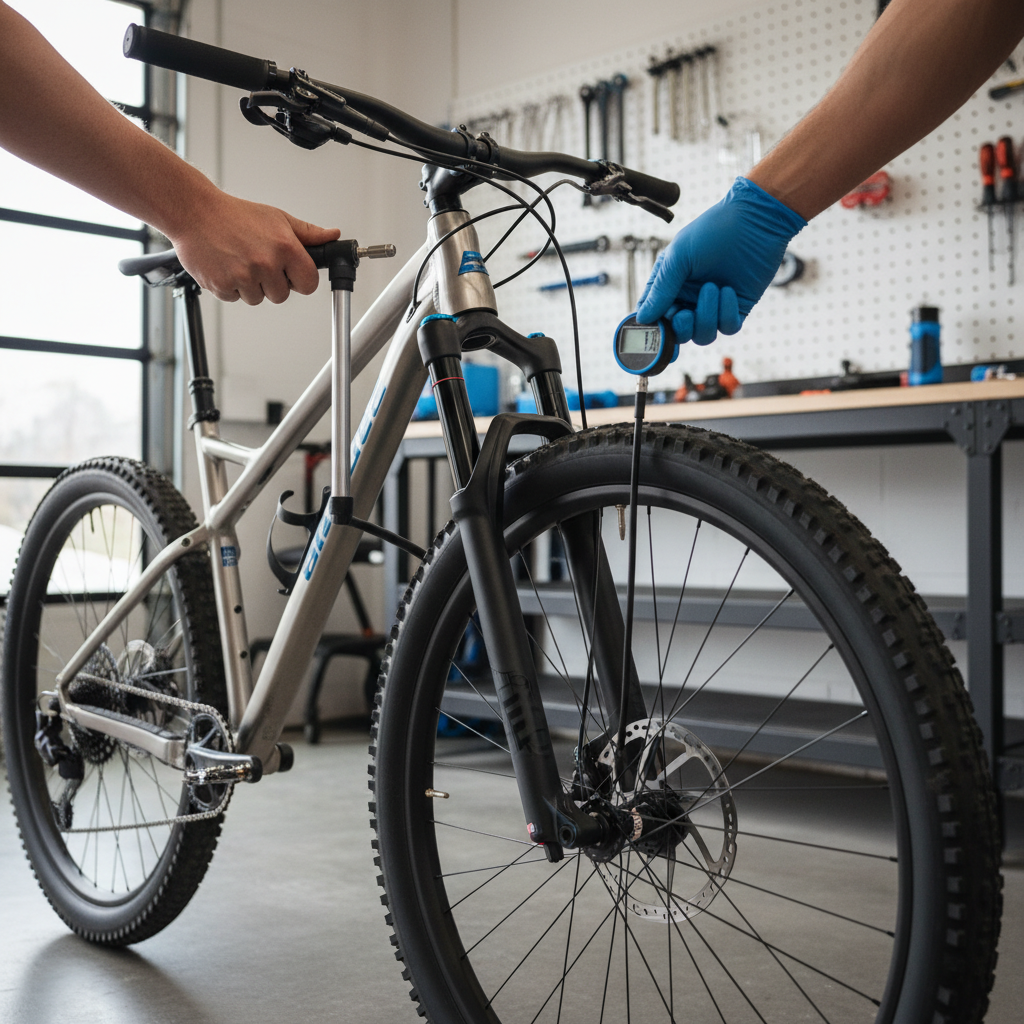
- Set tire pressure: start conservatively and adjust; too high feels skittish, too low risks rim strikes. Many riders benefit from a shop helping dial this in.
- Adjust brake levers: angle and reach should let you brake with one finger without straining your wrists.
- Dial suspension sag: set sag to manufacturer guidance; if you’re unsure, a local shop can help in minutes.
- Handlebar position: a slight roll and lever tweak changes control a lot, especially on descents.
Safety note: if you’re new to technical terrain, easing in matters more than “having the right bike.” If you have any health concerns or prior injuries, it’s reasonable to check with a medical professional before pushing intensity.
Common mistakes when shopping (that waste money fast)
- Buying by suspension travel alone: geometry and component quality often matter more for confidence.
- Ignoring fit because “I’ll grow into it”: a too-long reach can make steering feel vague and tiring.
- Overpaying for upgrades you can’t feel yet: wheels and fancy drivetrains are nice, but brakes, tires, and a dropper post typically change the ride more.
- Forgetting ongoing costs: tubeless sealant, brake pads, chain wear, and basic service are normal ownership items.
If a salesperson pushes you toward a “race” bike and you mostly want weekend trail rides, pause and ask what tradeoffs you’re accepting. The best mountain bike for beginners should feel friendly at slow speed, not just fast in a catalog.
Conclusion: how to choose your best first mountain bike in 2026
For most riders, the smartest path is picking a solid trail hardtail (or short-travel full-suspension if your trails stay rough), confirming fit, then prioritizing brakes, tire choice, and a basic setup session.
Key takeaways:
- Match bike category to your local trails, not to internet hype.
- Spend for fit, brakes, and a tuneable fork before chasing fancy materials.
- Plan small setup steps right after purchase, they make a bigger difference than most upgrades.
If you want, share your height, inseam (roughly), local trail type, and budget, and I’ll narrow it to two or three specific “buy profiles” that usually work in U.S. shops.